Your roof protects your home. It’s more than a physical barrier-it can also prevent your house from taking on water. If there’s a leak, your house could suffer from compromised walls.
Leaks could compound other damage done to your house. They can also lead to mold growth (around 70% of homes have mold!) and lead to the deterioration of HVAC systems and electrical wiring. These can be expensive to repair.
Leaks made worse by snow and ice can also increase your homeowners insurance premiums. Are you facing a leaky roof? Here is how to fix a leaking roof.
Common Signs of a Leaking Roof
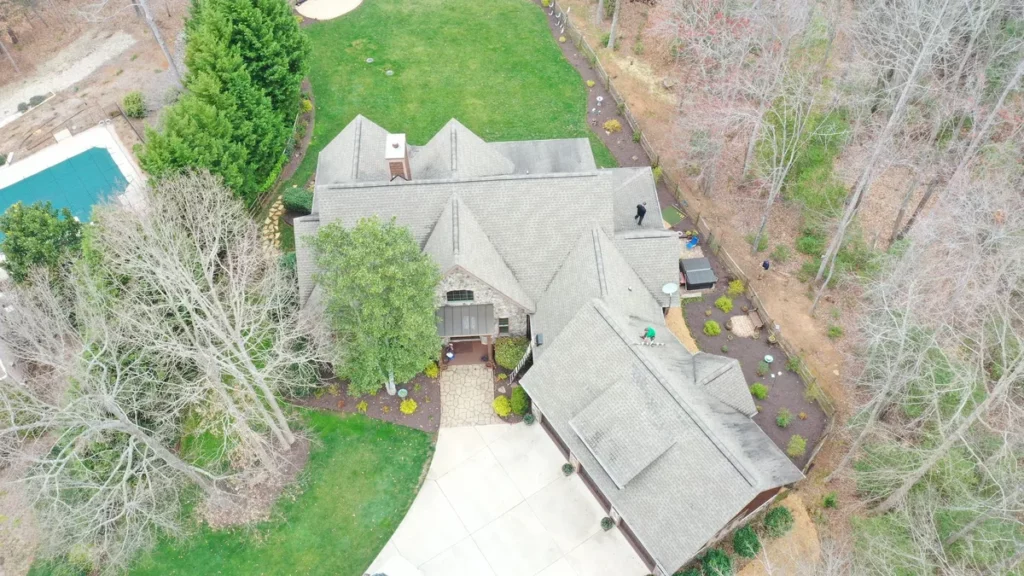
Common signs of a leaking roof can include a damaged shingle or flashing, persistent water spots on the ceiling, moisture on interior walls, mold, or unpleasant odors. If you have noticed any of these around the home, it is important to repair the roof before the damage gets any worse;
- Water stains on walls or ceilings
- Water dripping or pooling in the attic or on the floor
- Peeling paint or wallpaper near the roofline
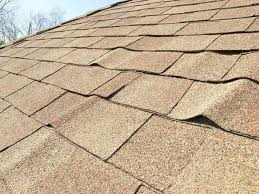
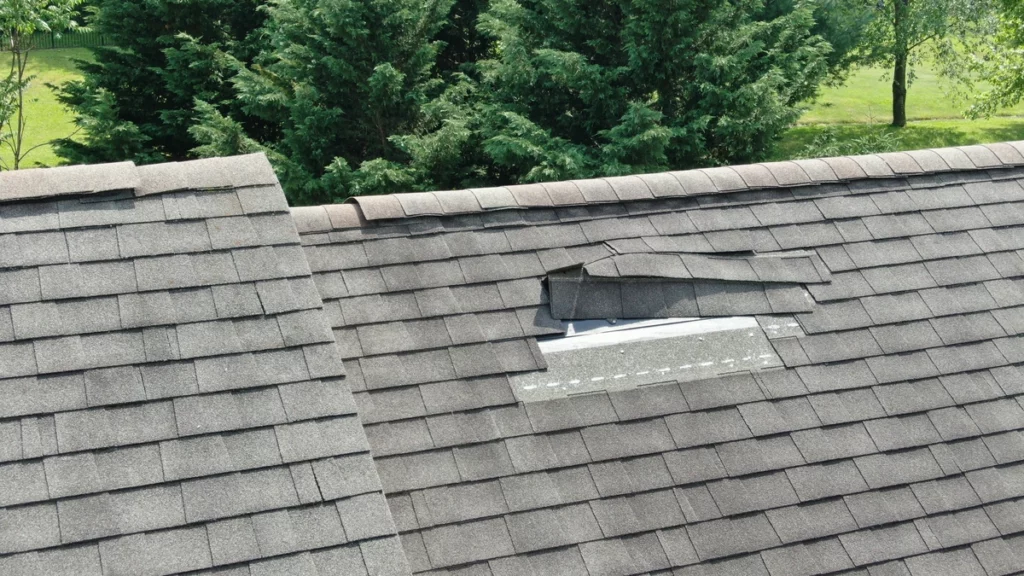
- Cracked or missing shingles
- Loose or damaged flashing
- Curled edges of shingles
Inspect your roof regularly for signs of damage, such as cracked or missing shingles, loose or damaged flashing, or curled edges. By paying attention to these signs, you can identify a leaking roof early on and take the necessary steps to address the issue before it escalates into a major problem.
Fixing a Leaking Roof: Step-by-Step Guide
Now that you’ve identified a leaking roof, it’s time to roll up your sleeves and get to work. Follow these step-by-step instructions to fix the issue and safeguard your home.
1. Safety First When Fixing a Leaking Roof
When it comes to fixing a leaking roof at home, safety should always come first. Homeowners should not take any chances when it comes to their safety, as roofs can be very dangerous places to work. In order to fix a leaking roof properly, it is important to take all necessary steps and precautions.
A homeowner should first assess the situation from the ground and determine the exact location of the leak. Next, have an experienced roofer inspect the roof and make any necessary repairs. Once the repairs are complete, a homeowner should take things slowly and inspect the roof again.
Then a homeowner should hire a professional roofer to ensure that all of the work is done correctly and safely. Many injuries are caused every year by homeowners not taking the proper precautions.
Finally, to ensure that the roof does not leak again, it is recommended that a homeowner use the correct sealants and waterproofing agents in order to properly protect the roof from further damage. Following each of these steps is essential for any homeowner who wants to have a safe and secure roof.
Locate the Leak
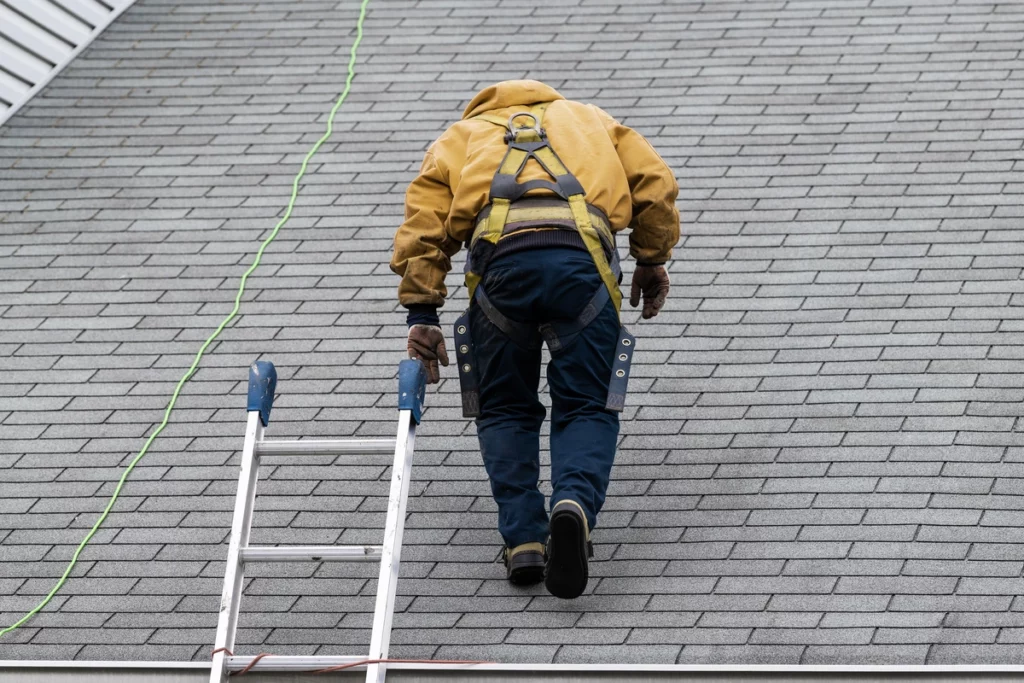
Locating the leak is the first step in the process of fixing a leaking roof. Begin by inspecting the outside of the house, particularly the area near the roof eaves and valleys. Look for any visible damage or moisture on shingles, including curling, missing, or buckling shingles. Follow any dripping to find and expose the source of the leak.
You can easily locate the source of the leak by using a garden hose to run water over the entire roof and pinpoint where the water penetrates. If that doesn’t work, consider hiring a professional roofer to find the leak and provide a detailed estimate for the job.
Clear the Debris and Clean the Repair Area
Clearing the debris and cleaning the repair area are essential step-by-step instructions to follow when fixing a leaking roof. Before gathering the necessary tools and materials, it’s important to regularly check the roof for any areas that may be leaking. If any areas are identified, debris including leaves, branches and other potential blockages should be removed.
Repair Damaged Shingles or Flashing
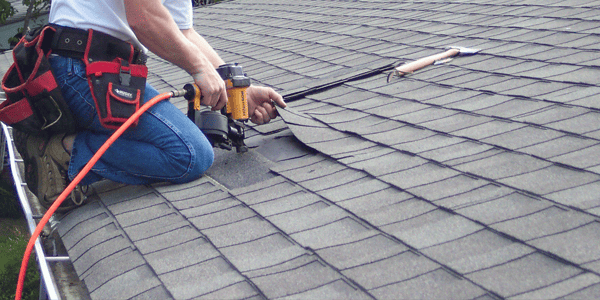
Repairing damaged shingles or flashing on a leaking roof can be a daunting task for homeowners. As these issues can occur often and without warning, it’s important to know the proper steps to fix them. First, inspect the roof surface for any damaged or missing shingles. If found, replace with new shingles that match the existing ones.
If they don’t, then remove and replace the entire row of shingles.
Afterward, inspect the flashing and sealants for signs of deterioration or damage. If damage is visible, then remove the section in which it’s located and replace.
Once done, ensure that the new shingles or flashing is securely laid and sealed with waterproof sealant. Test the new repair with a hose to make sure that it is properly sealed and watertight. With these steps, any homeowner should be able to confidently repair any shingle or flashing damage on their roof.
Preventative Roof Maintenance Tips
Fixing a leaking roof is just one part of maintaining the health and integrity of your home. Here are some preventive measures you can take to avoid future leaks and extend the lifespan of your roof:
- Regular roof inspections with a professional
- Regularly clean out your gutters and ensure they are free from debris
- Trim back any branches that are in close proximity to your roof
- Address mold and mildew growth promptly to prevent their further growth
By implementing these preventive measures, you can minimize the risk of a leaking roof and prolong the lifespan of your roof. Prevention is always better than cure when it comes to maintaining the health of your home.
This Is How to Fix a Leaking Roof
Maintaining your roof is essential to protecting your home from water damage. We hope our step-by-step guide provided helpful tips and tricks for homeowners to fix their roof and prevent leaks. Remember to call a professional if you have any doubts or questions.
Take action now to prevent any major issues and keep your roof in the best condition possible. Find how to fix a leaking roof and get in touch with a professional when necessary. Contact us today!
