Sometimes in life, you have to get resourceful— especially when you’re a homeowner. What is it about purchasing a home that makes everything need repairs seemingly all the time? If it’s not a dripping faucet, it’s the garage door opener. And if it’s not a blown fuse, it’s a roof leak!
While it’s always recommended to leave your roofing needs to a qualified professional (roofing is quite a dangerous job, after all), there are some repairs you can attempt yourself if you feel comfortable. If you’ve discovered a roof leak, follow this guide to complete a roof leak repair that keeps your home protected until a professional can fix it long-term.
3 Steps to Perform a Roof Leak Repair
With some effort and patience, you can find and fix a roof leak by yourself. Follow these three steps for the best chance of ending your roof leak.
First: Locate the Roof Leak
You can’t patch a roof leak unless you know where the roof leak is coming from! You’ll need to go through the steps of locating the leak before you can start the repair.
If there’s an active water drip, be sure to place a bucket underneath to catch the water. Then, start looking for clues.
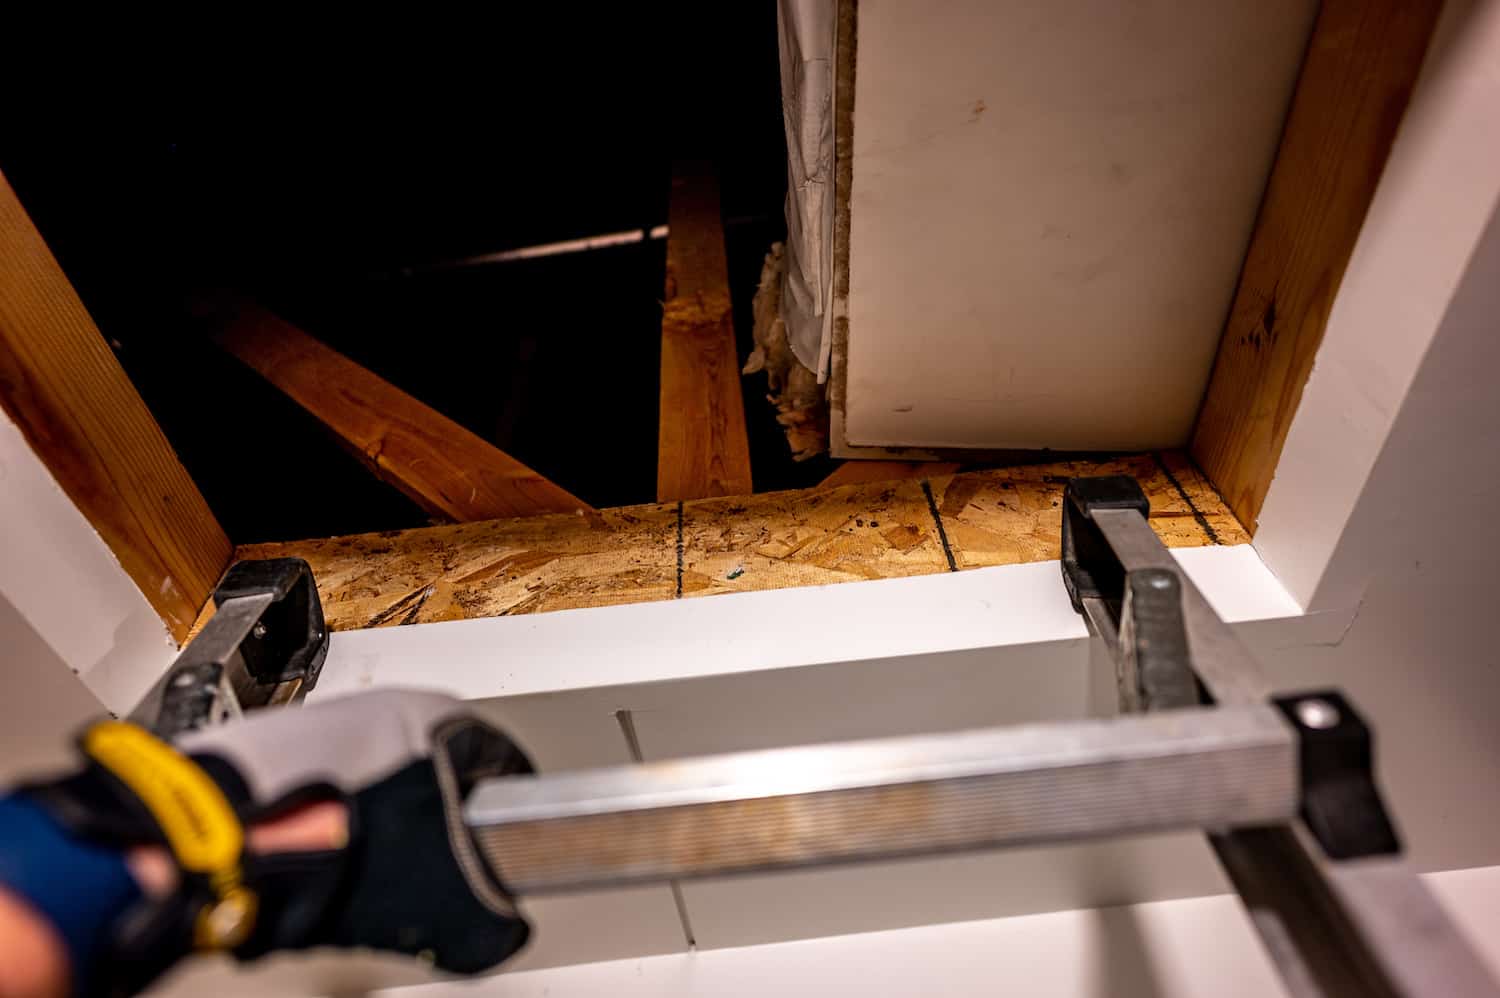
While in your attic, look for signs of a roof leak, whether or not there’s actively dripping water. Specifically, look for water stains and light peeking through the attic. These signs can help narrow down the general area of the leak.
Unfortunately, roof leaks are sneaky. They can start in one place, spread throughout your home, and show their evidence in a completely different area. Because of this, it’s not always simple to pinpoint the source of a leak. Even still, a culmination of water stains or dripping water can point you to the general area of the damage.
Head up to your roof. Be sure to have a buddy with you, as working on your roof alone isn’t safe. Look for obvious signs of roof damage that may be causing the leak, such as:
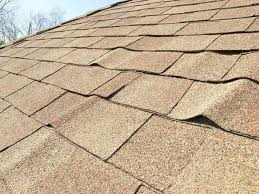
- Damaged or missing shingles
- Damaged flashing
- Debris on the roof
- Shingle granule loss/hail dents
If you notice one of these issues, you can feel pretty confident that it’s the source of your leak. If you can’t find any signs of damage, you may have to get creative and create your own rain with a garden hose.
Our full, detailed guide to locating a roof leak can be found here.
Second: Decide Which Repair Method to Use
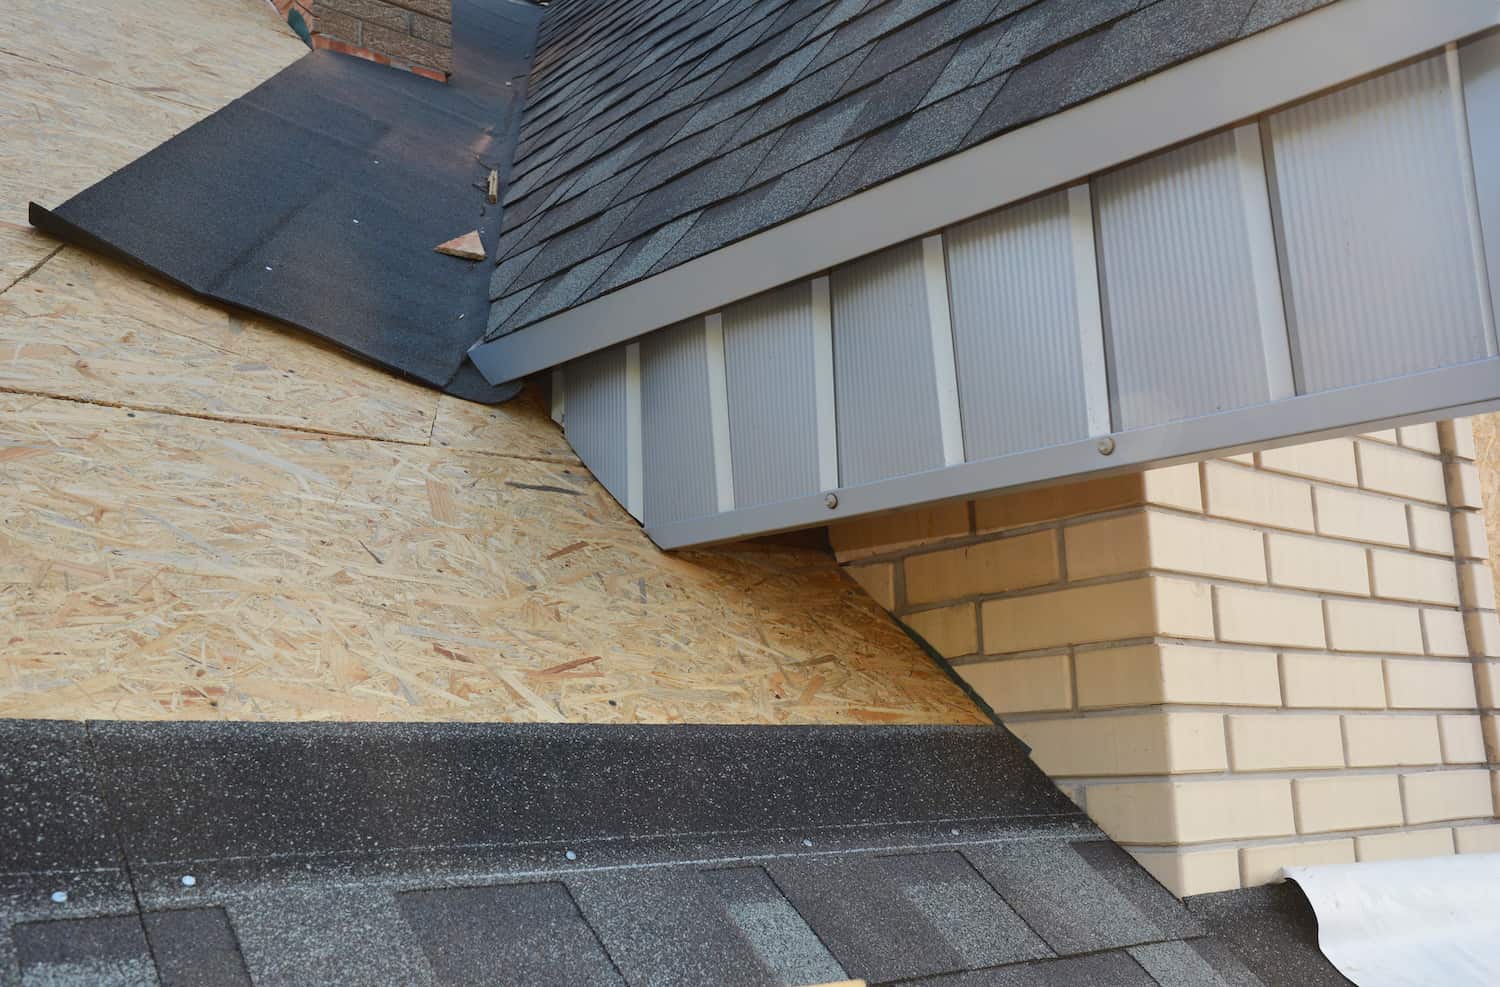
Okay, so you’ve located the source of your roof leak. Most commonly, it is a damaged shingle or flashing. You have a few options when it comes to a DIY roof leak repair:
- Replace the shingle
- Replace the flashing
- Temporarily tarp your roof
If a different issue seems to be the culprit, you’ll need to attend to it accordingly. For example, you may need to clear out clogged gutters or remove debris from your roof. But since the most common sources of a roof leak are damaged asphalt shingles or flashing, we’ll walk through the different options you have to repair them below.
How to Replace a Damaged or Missing Shingle
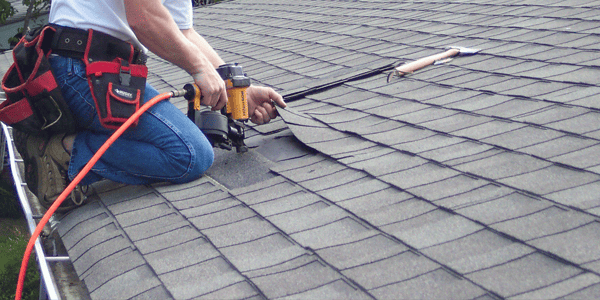
If a broken or blown-off asphalt shingle is the culprit, it’s usually not too difficult to replace. However, if there are a handful of damaged shingles, you’re better off relying on a professional roofer from the start.
To replace a broken shingle, you’ll need the following supplies:
- Pry bar
- Replacement shingle in the same brand, style, and color
- Roofing cement or caulk
- Roofing nails
- Hammer or drill gun
Start by prying off the damaged shingle with the pry bar. You’ll need to lift the edge of the shingle directly above as well. Remove the damaged shingle and set it aside. Slide the replacement shingle into place and use roofing cement or caulk to attach it. Once it’s securely in place, you can nail it down with roofing nails. Apply some more roofing cement over the nail heads to reinforce them.
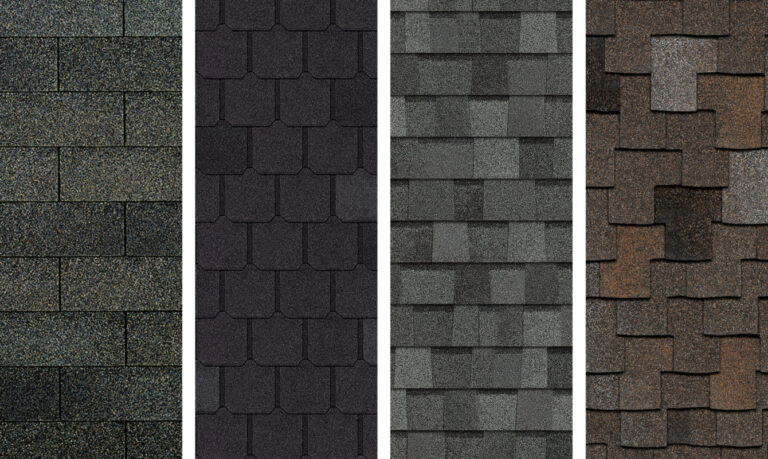
Be sure to find an exact match for your existing roofing shingles. This means narrowing down the manufacturer, style, and color of your existing roof. You’ll find yourself in a sticky situation if you try to mend an architectural shingle roof with a 3-tab shingle. Plus, if the colors are off, you risk penalizing your home value and curb appeal. If you can’t find an exact match at your local home improvement store, call a professional roofer instead.
Replace Damaged Flashing
Flashing is a thin metal material installed in many areas of your roof, including roof vents, skylights, chimneys, roof valleys, and eaves. Its purpose is to provide extra waterproofing protection in areas that are especially susceptible to water seepage. If your roof leak is coming from damaged flashing, you’ll need to replace it. You’ll need the following materials:
- The appropriate new flashing (ie, don’t use chimney flashing for a drip edge repair)
- Pry bar
- Caulk/roofing cement
- Roofing nails
Start by removing the old flashing with a pry bar. Apply roofing cement or caulk directly onto the roof surface and then slide in the new piece of flashing. Secure it with roofing nails and apply more roofing cement over the nail heads.
Flashing repairs are often more difficult because you’ll often need to remove shingles to access the flashing and then properly reattach them when you’ve replaced the flashing. An improper repair can leave you with even more leaking water, so we suggest calling a professional roofing contractor if your leak is stemming from damaged flashing.
How to Tarp Your Roof
If you’re in an emergency situation, tarping is a great way to temporarily fix your roof leak until a professional can repair it correctly. First, measure the area of your roof where the damage is located (an estimate will do). Then, purchase enough tarp to cover that area plus at least two feet on either side for extra security and protection.
Work with a friend, and lay the tarp as taut as possible over the damaged area to prevent any water from seeping under. You can secure the tarp with sandbags or cinder blocks.
Alternatively, you can wrap the edges of the tarp around wooden beams and nail the beams to your roof. This method requires less heavy lifting, but most homeowners opt to avoid nailing down the tarp.
Third: Call a Professional for a Permanent Solution

No matter what kind of roof leak repair you’re attempting, it’s always a good idea to call a professional roofing contractor for help. Roofing repairs are not always DIY friendly— they require special safety equipment and materials that the average homeowner doesn’t have at their disposal. Not to mention, making a faulty repair can void any warranties you have on your roof. It’s not always worth risking more damage and expenses down the line in the name of saving a few bucks for now.
Plus, roofers can identify underlying roof damage you may have missed and make sure your roof leak repair is done correctly the first time around. This will save you from having to patch up the same roof leak again in a few years!
Schedule Emergency Roof Repairs Now
Here at Tidds Roofing, we offer 24/7 emergency patching, so there’s no reason to have to take on this stressful task yourself. Our friendly team will tarp or patch your roof right away to save your home from water damage until we can schedule a time to perform a long-lasting repair.
Whether or not you want to attempt a DIY roof repair, it’s always wise to have a professional roofer inspect your roof to ensure everything is in sound condition. If finances are a concern, Tidds is also proud to offer monthly financing options so that you don’t have to put off important home repairs.
Simply fill out our contact form or give us a call, and we’ll help repair your roof ASAP!
