While most homeowners focus on their shingles, there are several critical components of the roof you should be aware of. One of those components is the roof fascia, and it serves a very specific purpose.
It’s also something you want to keep an eye on, as damaged fascia boards can lead to moisture damage, mold growth, and other structural issues. Below we’ll cover everything you need to know about inspecting and repairing your roof fascia.
What Exactly Is Roof Fascia?
Like most homeowners, you probably couldn’t point out your roof fascia if your life depended on it — and that’s about to change.
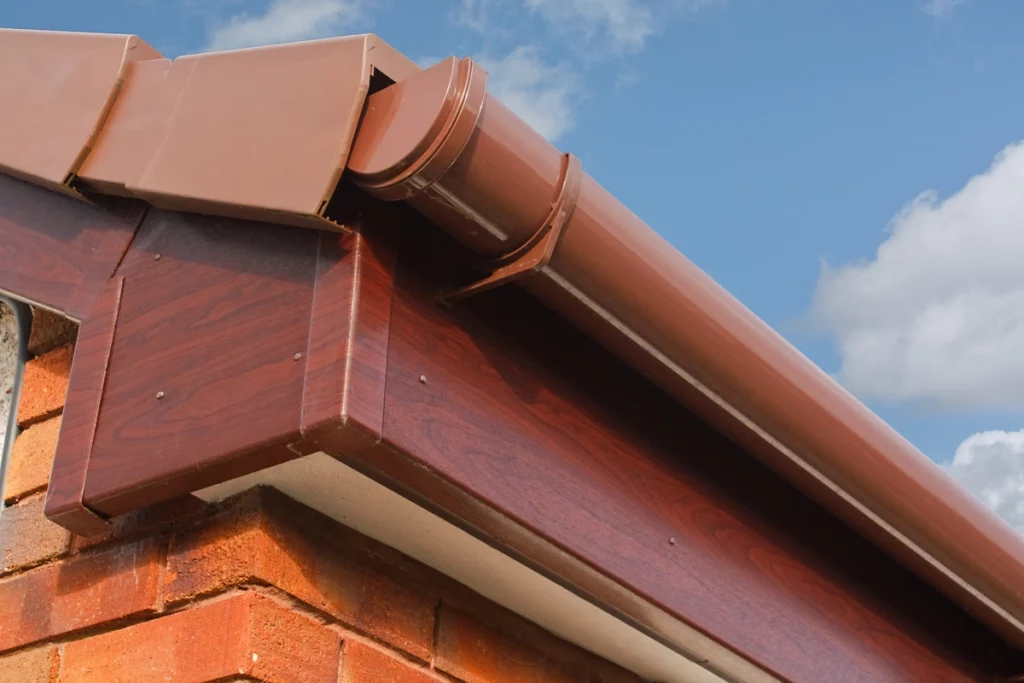
The fascia is the board that runs along the lower edge of your roof, and it’s responsible for:
- Connecting to the rafters, trusses, and gutters to keep them all in place
- Keeping moisture away from your home’s walls and interior
- Supporting the bottom row of tiles and slate (if that’s the type of roofing material you have)
- Providing stability to the roof edges
- Giving your roof an overall “finished” appearance
Because roof fascia is meant to support certain components and has to stand up to the elements, it’s usually made from strong materials that can repel water. This includes the following:
- Standard wood fascia, such as spruce, fir, and pine, which require painting upkeep to remain weather resistant
- Pressure-treated wood, which is much more water-resistant compared to standard wood
- Polyvinyl chloride (PVC), which is a type of plastic that’s 100% waterproof but will expand and contract with fluctuating temperatures
- Aluminum fascia, which is highly durable and can withstand any type of weather
- Vinyl fascia, which is similar to aluminum in its durability and longevity
- Fiber cement, which is a composite material made from wood chips and sawdust and is highly resistant to weather and wood rot.
Lastly, fascia board is also considered a type of trim. You’ll find that it’s often referred to as fascia trim which can be confusing since wooden fascia boards sometimes have a metal sheet layer that’s also referred to as the trim. This trim essentially protects the fascia board from the elements and will usually match the color of your siding to offer a uniform and finished look.
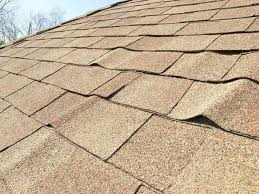
What Does Damage to Roof Fascia Look Like?
Your fascia board sits in between the rest of your roofing components and the elements, which means it’s exposed to potential damage year-round. Over time, the fascia board will wear down, creating a risk for both wet and dry rot, which is why you should inspect it frequently.
So, what exactly does fascia board damage look like? It can take a few different forms, including:
- Leaning gutters. Once the fascia board becomes soft from moisture damage, it won’t be able to hold the weight of your gutters anymore. Eventually, your gutters will start to sag or lean, exposing the fascia behind them until they fall to the ground.
- Gutters hanging off the house. Once you see your gutters hanging off your home and swaying in the wind, it’s a surefire sign that there’s fascia board damage.
- Resecured gutters keep coming loose. If you’ve recently re-secured your gutters and they start hanging loose again, the fascia board is likely way too soft due to wet rot.
- The fascia board is visibly discolored or deteriorating. Not all of your fascia will be hiding behind your gutter, which means you’ll be able to clearly see the condition it’s in. If the exposed fascia is showing mold growth, signs of rot, peeling paid, splintering wood, termite activity, or obvious bloating from moisture, then it’s time for a repair or replacement.
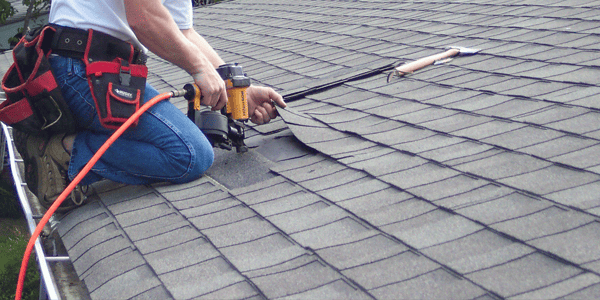
How to Repair Your Roof Fascia
Damaged fascia can lead to further damage to your roof and home’s structure. It can also lead to an increase in heating and cooling costs. That’s why you want to do a quick fascia inspection every six months (or seasonally — every four months) to check for damage.
Once you see damage to your fascia, you’ll want to address it immediately. Keep in mind, fascia repair is no easy feat. It’s always recommended that you call your local roofing professionals to get the job done. However, if you’re handy, you can get started by gathering the following tools and materials:
- A ladder
- Measuring tape
- Safety equipment
- New fascia board
- A pry bar to remove existing nails
- New roofing nails
- A hammer or nail gun
- A circular saw to cut the fascia board to the correct size
- Silicone caulking, sealant, or roofing cement for nails and fascia joints
- Wood sealant and paint for the fascia trim
Here’s how it’s done:
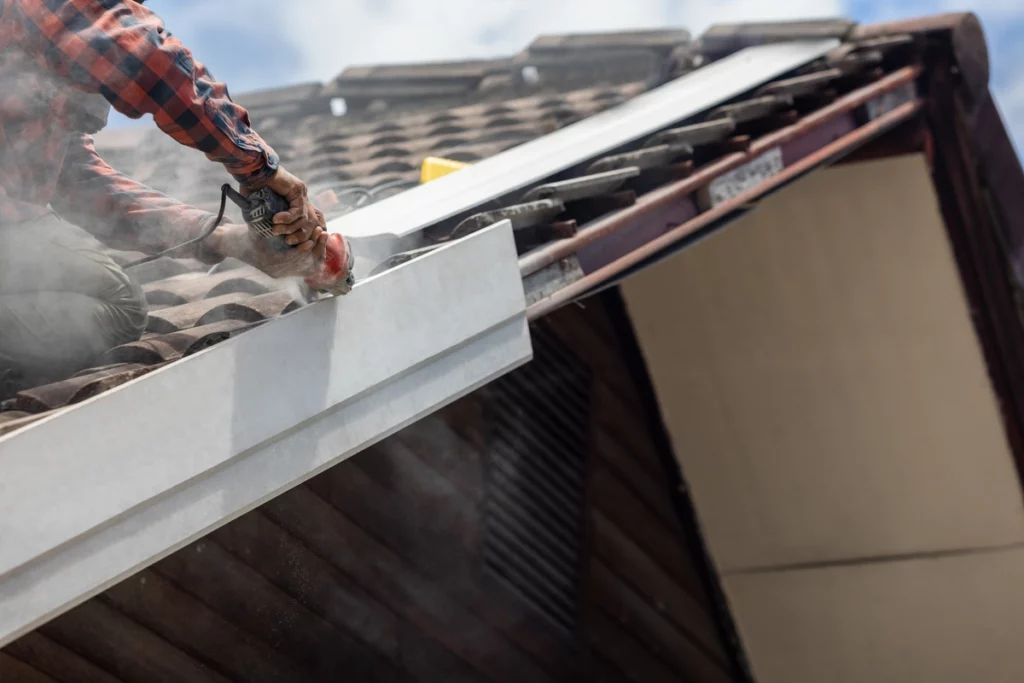
- Start by carefully removing your gutters and drip edge. If they’re in good condition, you can simply reinstall them when the new fascia board is installed.
- Remove the existing fascia board using the claw of your hammer or pry bar.
- Measure and cut your new fascia board to fit properly. You can opt to cut the fascia further into more manageable sections; just make sure that each section spans across two rafters.
- You’ll also need to connect the corners of your fascia board, which means you’ll need to cut boards at a 45-degree angle in order to form a joint.
- Be sure to place the new fascia correctly, marking where the rafters will be so you can ensure that the nails are driven directly into the rafters.
- Once your new fascia is nailed to the rafters, you’ll need to seal any seams in between the boards to protect against moisture penetration.
- Now apply the wood sealant as directed by the manufacturer. Once it’s dry, follow it up with one to two coats of paint to match your gutters. (If you’re using fascia with metal trim, there’s no need to seal or paint — but you will have to take the extra steps of measuring and cutting the metal trim to fit and nailing it to the fascia board).
- Lastly, you’ll need to reinstall your gutters and drip edge.
Keep in mind that a DIY project like fascia repair or replacement can violate the conditions of your manufacturer’s warranty. It’s also a great undertaking as you’ll need to start and finish the work on the same day — which is why it’s a job that’s best left up to the professionals.
Leave It to the Pros
When it comes to your roof fascia or anything that has to do with your roofing system, the experts at Tidds Roofing are the best for the job. Give us a call today to schedule your free inspection and to learn more about our roofing services!