When it comes to protecting your home or building from the elements, the roof is your first line of defense. A well-constructed roofing system can mean the difference between a dry, comfortable interior and costly repairs due to leaks or damage. That’s where roof dry-in inspections come into play. But what exactly is a roof dry-in inspection, and why is it so important? In this blog post, we’ll delve into everything you need to know about roof dry-in inspections, covering the importance, process, materials, and much more. Let’s get started!
Key Takeaways
- A roof dry-in inspection is essential for weather protection and quality assurance.
- Common issues found during inspections include improper installation, inadequate ventilation, and poor material selection.
- When choosing a contractor consider their licensing & insurance. Experience & reputation. Communication & customer service.
The Importance of Roof Dry-In Inspection
Roof dry-in inspections play a pivotal role in safeguarding your roof from the elements, upholding quality assurance, and warding off potential damage. Therefore, they form a significant step in the roofing process, particularly when contending with severe weather conditions.
But why are these three aspects so vital? Let’s break them down further.
Weather Protection
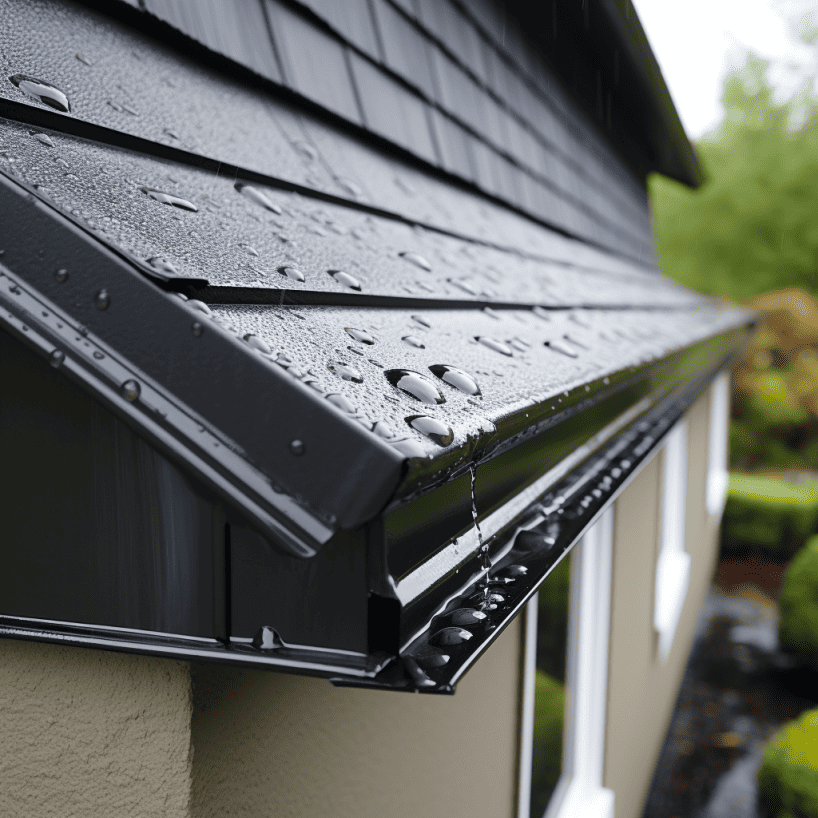
One of the primary functions of a roof is to protect your home or building from the elements, such as wind, rain, and snow. During a roof dry-in inspection, weather protection involves assessing the roof’s capability to withstand harsh weather conditions and avert water damage.
A key component in this process is the roofing underlayment, which acts as a roof impermeable, weather-resistant barrier to protect the structure’s interior from moisture. A correct installation of the roofing underlayment is vital to secure its role in safeguarding your home.
Quality Assurance
Quality assurance in the context of roof dry-in inspections involves checking the proper installation of roofing materials and sealing window and door openings to prevent water intrusion. This is of great importance, as it guarantees that the roofing materials, including metal roofing, and installation abide by industry standards and building codes.
Adherence to these codes and standards is instrumental in maintaining the safety and longevity of your roof, as well as the safety of the building’s occupants.
Damage Prevention
Damage prevention is all about implementing strategies and practices to reduce the risk of accidents, incidents, or destructive events, with the aim of preventing harm or damage to property, infrastructure, or individuals.
In the context of roof dry-in inspections, damage prevention involves ensuring that the structure’s interior sealed and protected from water intrusion. Early identification and rectification of potential issues prevent them from turning into expensive problems, thereby saving time, money, and effort in the long run.
Roof Dry-In Process and Materials
Having grasped the significance of roof dry-in inspections, we’ll delve into the process and materials involved.
The roof dry-in process consists of installing the following components:
- Roofing underlayment
- Flashings
- Drip edges
- Temporary coverings
Each of these components plays a crucial role in ensuring the overall integrity and durability of your roofing system.
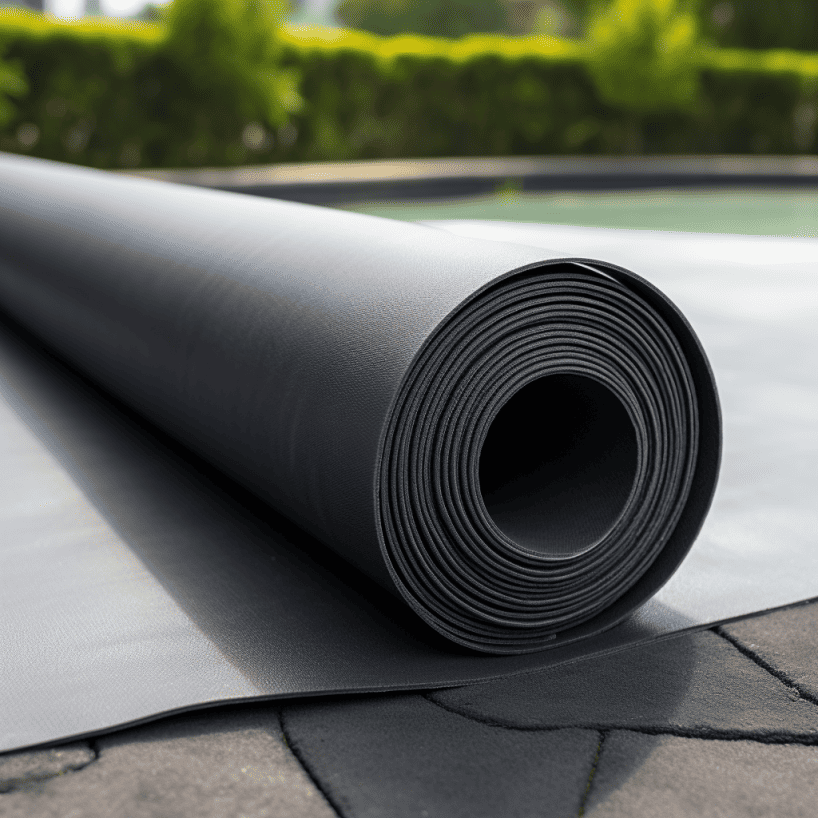
Roofing Underlayment
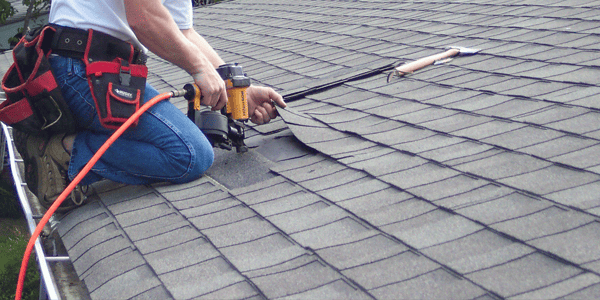
Roofing underlayment is a protective barrier installed beneath the roofing material to provide additional defense against water damage. This underlayment can be made of materials such as felt or synthetic materials, with synthetic underlayment being the preferred choice due to its enhanced durability and superior resistance to the elements.
To ensure the efficacy of your roofing underlayment in preventing moisture from seeping into the wood substrate and causing damage to your home’s interior, especially when it comes to roof decking and roof sheathing, it is crucial to install the roofing underlayment correctly on the wood substrate prior to the installation of the roof sheathing.
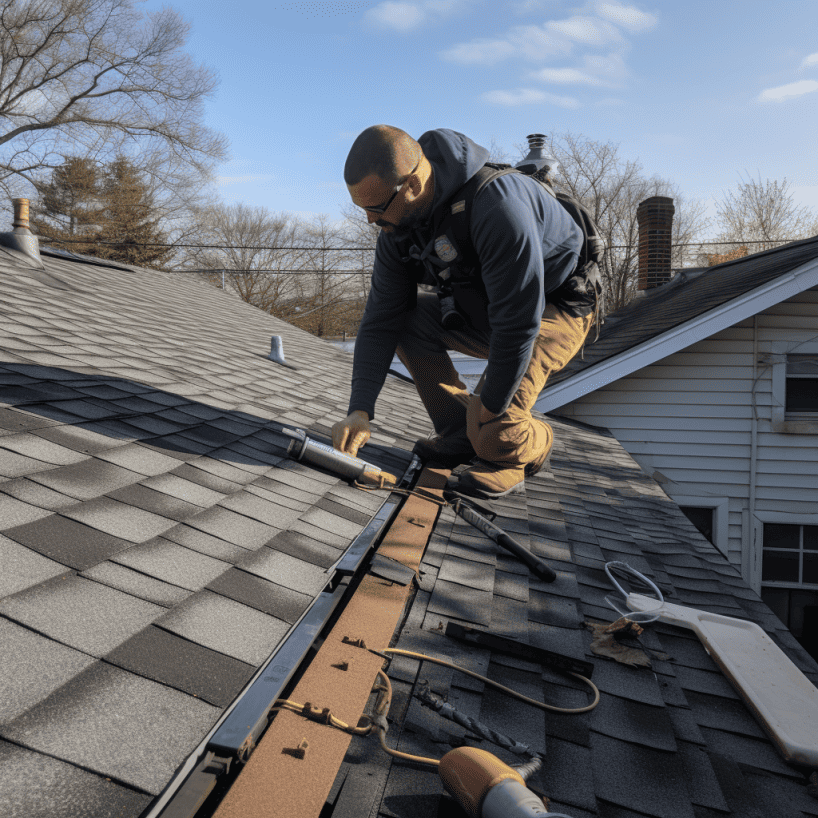
Flashings and Drip Edges
Flashings and drip edges are essential components of a roofing system. Metal flashings are typically installed to prevent water from infiltrating the joints and intersections of a roof. They are regularly utilized around:
- chimneys
- vents
- skylights
- other roof penetrations
Drip edges, on the other hand, are metal strips installed along the roof’s edges to direct water away from the fascia and into the gutters, thus protecting the roofline, siding, and fascia from water damage. The correct installation of flashings and drip edges is essential in averting leaks and water damage.
Temporary Coverings
During the construction process, it may be necessary to use a temporary roof, such as tarps, to protect the structure from weather damage until the final roofing material is installed. These temporary coverings serve as a crucial barrier, especially when dealing with weather-sensitive materials.
It’s imperative to ascertain these coverings are securely fastened and not obstructing any ventilation or drainage systems for optimal roof protection.
Steps to Prepare for a Roof Dry-In Inspection
Preparing for a roof dry-in inspection involves the following steps:
- Ensure proper installation of the roof, including proper flashing and sealing.
- Check for any leaks or damage to the roof.
- Gather all necessary documentation, such as permits and inspection reports.
By following these steps, you can help guarantee a smooth inspection process and avoid any potential issues that may arise during the inspection.
Let’s take a closer look at each of these steps.
Ensuring Proper Installation
One of the key aspects of preparing for a roof dry-in inspection is verifying that all roofing materials have been installed according to manufacturer guidelines and building codes. This includes ensuring that the roofing underlayment, flashings, and drip edges are correctly installed and that temporary coverings are provided.
Correct installation is key to mitigating leaks, damage, and other potential issues during the inspection.
Checking for Leaks and Damage
Another important step in preparing for a roof dry-in inspection is checking for any signs of water intrusion or damage to the roofing materials. This may involve inspecting the roof for any evidence of water damage, including water stains, mold, or mildew.
Early detection of possible leaks or damage can facilitate a successful inspection and avert expensive repairs in the future.
Gathering Necessary Documentation
Finally, it’s vital to collect all the necessary documentation for a roof dry-in inspection. This includes obtaining permits, inspection reports, and any other pertinent paperwork for the inspection.
Having all the required documentation on hand will help streamline the inspection process and ensure that all aspects of the roofing system are properly evaluated.
What to Expect During a Roof Dry-In Inspection
During a roof dry-in inspection, you can expect a visual examination, leak testing, and compliance checks to ensure your roof meets all necessary requirements. Understanding what to anticipate during the inspection enables you to prepare better and tackle any issues that might emerge.
Let’s explore each of these components in more detail.
Visual Examination
A visual examination is an essential part of a roof dry-in inspection. During this examination, the inspector will assess the overall condition of the roof and identify any potential issues, such as improper installation, inadequate ventilation, or poor material selection.
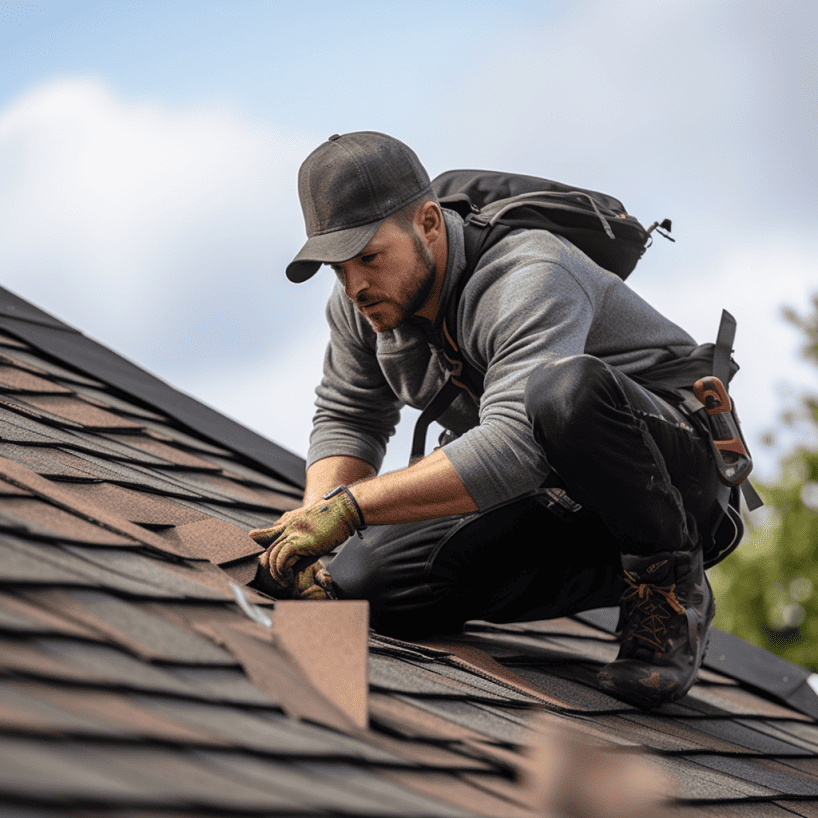
A meticulous examination of the roof, also known as a roof inspection, allows the inspector to identify any areas needing further scrutiny or repairs.
Leak Testing
Leak testing is another crucial component of a roof dry-in inspection. This process involves the use of water or other methods to check for leaks in the roofing system. Through leak testing, the inspector can spot areas of concern and suggest suitable measures to rectify any possible leaks or damage.
Leak testing is an important step in ensuring the integrity of the roofing system. It can
Compliance Checks
Finally, compliance checks ensure that the roof meets all applicable building codes and industry standards. These checks are carried out by qualified building inspectors who verify that the roof is properly installed and meets the necessary requirements for safety and durability.
Ensuring compliance provides peace of mind, knowing that your roof meets the standards and is built for durability.
The Role of Building Inspectors in Roof Dry-In Inspection
Building inspectors play a crucial role in roof dry-in inspections by ensuring that the roof meets all necessary requirements. They carry out inspections to verify that the roof is ready for the subsequent phase of construction, making sure that the sheathing and other components of the roof are in place and secured.
Let’s take a closer look at the qualifications and responsibilities of building inspectors, as well as the post-inspection report they provide.
Inspector Qualifications
Building inspectors must possess proper training, certification, and experience in the roofing industry. This includes a comprehensive knowledge of building codes, safety regulations, and roofing materials.
Entrusting qualified inspectors with your roof dry-in inspection ensures a comprehensive and precise process, offering valuable insights into your roofing system’s condition.
Inspector Responsibilities
Inspector responsibilities involve conducting thorough inspections, identifying issues, and providing recommendations for repairs or improvements. This includes evaluating the overall condition of the roof, checking for leaks and damage, and ensuring proper installation of all roofing materials.
Diligent execution of these responsibilities by building inspectors contributes to ensuring your roof’s safety and longevity.
Post-Inspection Report
After the inspection is completed, the building inspector will provide a post-inspection report detailing the findings of the inspection and any necessary actions to be taken. This report serves as an official record of the inspection findings and can be used to:
- Address any identified issues or deficiencies
- Communicate the inspection results to relevant parties
- Determine the next steps in the building process
- Ensure compliance with building codes and regulations.
A careful review of the post-inspection report enables you to make informed decisions regarding any necessary repairs or improvements to your roofing system.
Common Issues Found During Roof Dry-In Inspections
While roof dry-in inspections are essential in ensuring a safe and durable roofing system, they can sometimes reveal common issues that need to be addressed. Some of the most common issues found during these inspections include improper installation, inadequate ventilation, and poor material selection.
Let’s take a closer look at each of these common issues and their potential impact on your roofing system.
Improper Installation
Improper installation of roofing materials can lead to leaks, damage, and reduced lifespan of the roofing system, leaving the roof exposed to further issues. This can result in costly repairs and a compromised structure.
Correct installation is key to preserving the integrity and durability of your roof. By addressing any installation issues during the roof dry-in inspection, you can prevent these problems from escalating and ensure a long-lasting, reliable roofing system.
Inadequate Ventilation
Inadequate ventilation can cause moisture buildup, mold growth, and damage to the roofing materials. A well-ventilated roof allows for proper air circulation, helping to prevent moisture accumulation and related issues.
Maintaining adequate ventilation in your roof is vital for a healthy and efficient roofing system. By addressing any ventilation issues during the roof dry-in inspection, you can prevent potential damage and ensure a comfortable living environment.
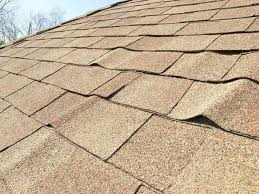
Poor Material Selection
Poor material selection can result in a less durable and less effective roofing system. Inappropriate materials, such as old roofing material, may not be able to withstand the environmental elements, leading to accelerated wear and tear, and ultimately, materials suffering weather damage.
Selecting appropriate materials for your roof is vital for a durable, weather-resistant roofing system. By addressing any material selection issues during the roof dry-in inspection, you can ensure your roof is built to last.
Tips for Choosing a Reliable Roofing Contractor
Choosing a reliable roofing contractor is essential in ensuring a successful roof dry-in inspection and proper installation of your roofing system. There are several factors to consider when selecting a contractor, including licensing and insurance, experience and reputation, and communication and customer service.
Let’s explore each of these factors in more detail to help you make an informed decision when choosing a roofing contractor.
Licensing and Insurance
Ensuring that your roofing contractor is properly licensed and insured is crucial in protecting both you and the contractor in case of accidents or damage during the construction process. Verifying the contractor’s license and insurance gives you confidence in their qualifications to manage your roof dry-in inspection and any required repairs or improvements.
Experience and Reputation
A contractor’s experience and reputation can provide valuable insight into their ability to provide quality work and a history of satisfied customers. When selecting a roofing contractor, it’s important to request references from previous clients and examine online reviews to get a better understanding of the contractor’s experience and reputation.
Selecting a contractor with a proven track record instills confidence in the quality of work they can deliver.
Communication and Customer Service
Effective communication and customer service are essential in ensuring a positive experience throughout your roofing project. Your chosen contractor should be prompt in responding to your inquiries and provide comprehensive estimates and timelines for the project.
Assessing a contractor’s communication and customer service skills contributes to a seamless and successful roof dry-in inspection process.
Get Your Roof Dry-In Inspection Today
Roof dry-in inspections are a critical component in ensuring a safe and durable roofing system for your home or building. By understanding the importance of these inspections, the process and materials involved, and the role of building inspectors, you can be better prepared for a successful inspection. Additionally, by selecting a reliable roofing contractor and addressing any common issues found during the inspection, you can guarantee a long-lasting and efficient roofing system for your property. Don’t leave the safety and durability of your roof to chance – Contact us today for a thorough roof dry-in inspection and protect your home or building from the elements.
Frequently Asked Questions
What is the dry in inspection for a roof in Florida?
An inspector must come and inspect the dry-in process before shingles can be installed in Florida, which includes inspecting sheathing, deck, water barrier, metal, and finally conducting a final inspection.
What is included in a dry in?
Dry-in refers to the point in a construction project when windows, doors, roofing felt or shingles and a weather-resistant barrier have been installed, marking the end of the rough exterior work.
How long does it take for a roof to dry?
Generally, roof coatings take 8-24 hours to dry, depending on the weather conditions – with hot temperatures and dry weather allowing it to dry faster, and dew or high humidity causing a longer drying time.
What is the main purpose of a roof dry-in inspection?
The main purpose of a roof dry-in inspection is to ensure the correct installation of underlayments and flashings, and that the roof is adequately protected from weather elements.
What are some common issues found during roof dry-in inspections?
Common issues discovered during roof dry-in inspections include improper installation, inadequate ventilation, and the wrong selection of materials.