A roof is one of the most critical components of a home, protecting the structure and its inhabitants from the elements. Proper roofing techniques are not only essential for the longevity and durability of your roof but also for the safety and well-being of your family. In this post, we’ll walk you through a 10-step shingle roof installation process that will ensure you roof right, covering everything from safety precautions to installing shingles correctly.
By following these steps, you’ll not only be better equipped to tackle your roofing project but also gain a deeper understanding of the importance of each component in the roofing system. So, let’s dive in and learn how to roof right!
Key Takeaways
- Safety is paramount in any roofing project. Invest in fall protection and hire a professional.
- Choose materials based on your home’s structure, climate conditions, budget & desired aesthetic.
- Proper installation of shingles, drip edges/flashing, underlayment & ventilation are key for optimal performance and energy efficiency.
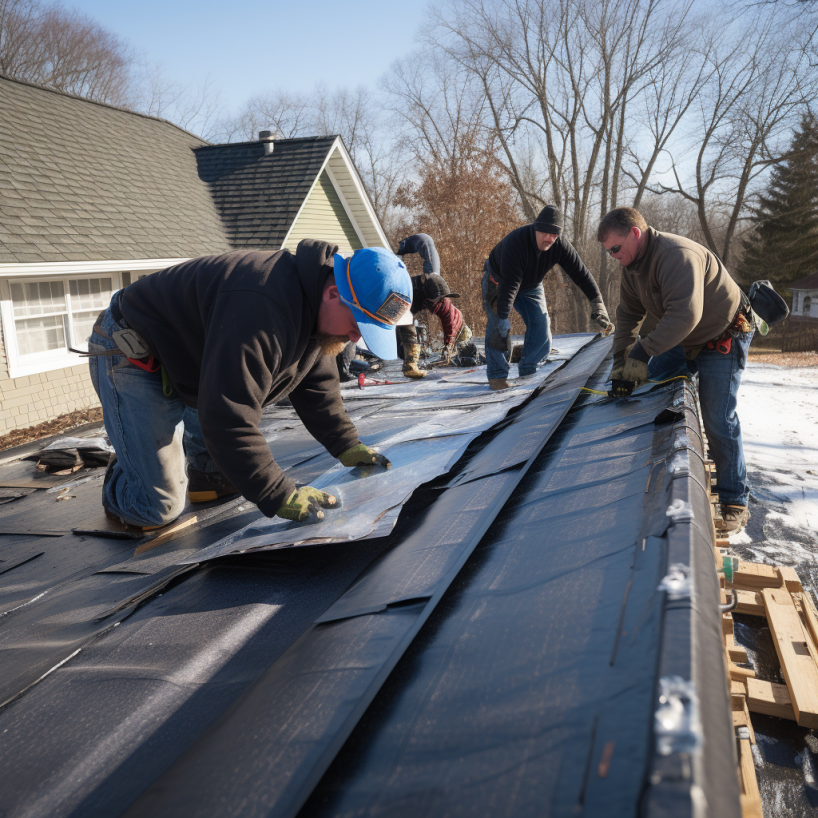
Safety First: Ensuring a Secure Roofing Project

Regardless of whether you’re a DIY enthusiast or a professional contractor, safety should always be your top priority in any roofing project. Prioritizing safety in your roof installation or replacement project helps prevent accidents and ensures a quality result. Before embarking on any roofing project, especially when dealing with an old roof, give due consideration to local building codes.
Remember, an incorrect roof installation can present potential safety risks for those occupying the premises.
Given that falls are the primary cause of death or injury among roofers, taking safety precautions during DIY roof installation and roof replacement projects is of paramount importance. DIYers should invest in fall protection kits, wear protective gear, and exercise caution when removing old roofing materials. Engaging a roofing professional can provide assurance that the job will be executed correctly, averting harm and extending the life of your new roof. Roofing professionals are best equipped to handle the removal of old roofing materials, including asphalt shingle roofs.
Proper training, as exemplified by IKO’s live training, is vital to guarantee safety and deliver quality results.
Choosing the Right Materials for Your Roof
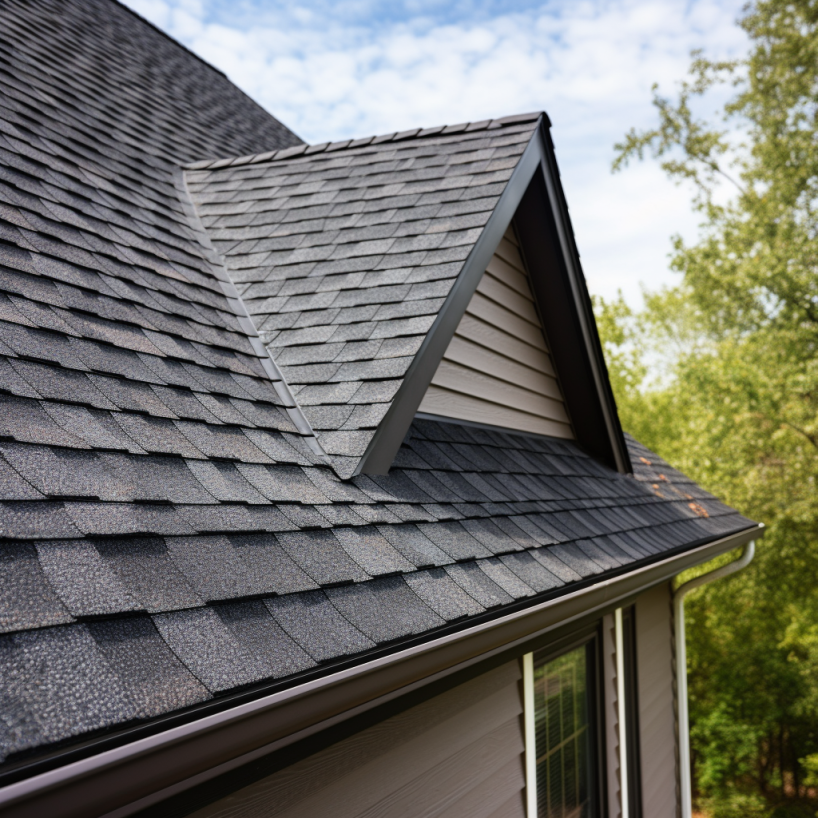
For durability, aesthetics, and energy efficiency, it is essential to select the right roofing materials like asphalt shingles, architectural shingles, metal roofing, or wood shakes. When choosing roofing materials, consider factors like the structure of your home, climate conditions, budget, and desired aesthetic.
Some of the most prevalent roofing materials include:
- Asphalt
- Metal
- Wood shingles
- Shake roofs
Moreover, when purchasing shingles, verify that all bundles display the same “lot” number on the packaging to ensure consistent color and quality.
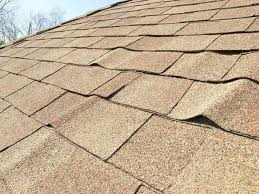
Asphalt Shingles
Asphalt shingles are a popular choice for homeowners due to their affordability, ease of installation, and wide range of styles and colors. Typically, an asphalt shingle roof has a lifespan of approximately 20 years, making them a cost-effective option for many homes.
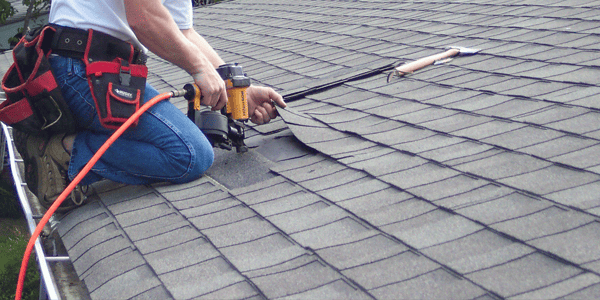
When installing asphalt shingles, meticulous attention to details like proper nailing and overlapping patterns is paramount. Accurate nail placement, using the right roofing nails, is essential for the wind-resistance of the roof system and a requirement for the limited warranty coverage of the shingles. Following the manufacturer’s instructions is also crucial to ensure the exposure, offset, and nail placement of the shingle are correct, as incorrect installation can lead to potential issues.
Metal Roofing
Metal roofing offers several advantages over other roofing materials, including longevity, energy efficiency, and low maintenance. A metal roof with adequate maintenance can last between 50 and 80 years, making it an excellent long-term investment for homeowners.
But installing a metal roof may require professional assistance, as the installation process can be more complex than that of asphalt shingles. For successful metal roof installation, correct installation techniques like screwing up the vertical edge and screwing into each of the ridges rather than the flats, are critical.
Wood Shakes
Wood shakes provide a natural, rustic appearance that appeals to many homeowners, especially in rural or rustic settings. Crafted from split logs, wood shakes offer a distinctive aesthetic that is challenging to replicate with other materials. When properly maintained, wood shakes are robust and can last a long time.
However, wood shakes require regular maintenance to prevent rot and insect damage. This includes cleaning, sealing, and inspecting the shakes for signs of damage.
While wood shakes may provide an attractive, natural look, they also come with potential risks, such as increased costs and installation challenges, when compared to other roofing materials.
Preparing the Roof Deck
Preparing the roof deck properly is crucial to achieve a smooth, flat, and stable surface for the new roofing materials. The initial step in a new roof installation is to remove the existing roof, including all:
- Shingles
- Flashing
- Underlayment
- Nails
The contractor will assess the roof for any moist areas or trouble spots that require replacement during this process.
After removing the old roofing materials, secure drip edge flashing flush along the eaves to protect the roof deck from water infiltration. Installing underlayment materials, such as felt paper or synthetic underlayment, on the roof deck will provide an additional layer of protection against water and help extend the life of your roof.
The Importance of Drip Edges and Flashing
Drip edges and flashing are vital components for directing water away from the roof and preventing leaks and water damage. Flashing, typically constructed of aluminum or galvanized steel, is applied over joints on the roof to inhibit water infiltration. Drip edge is a type of metal flashing commonly used on roofs. It is installed along the edges of the roof to prevent water from running under the shingles and infiltrating the roof decking..
The overall performance of your roof greatly depends on the correct installation of drip edges and flashing. For the lower part of the roof, the drip edge should be installed prior to the underlayment, while on the sides of the roof, it should be installed after the underlayment.
Ensuring the correct installation of these components will help maintain the integrity of your roof and protect your home from water damage.
Underlayment: Providing Secondary Protection
The installation of a quality underlayment adds an extra layer of protection against water infiltration, contributing to the lifespan of the roof. Underlayment materials, such as felt paper and synthetic underlayment, serve to shed water that may get under the shingles, protect the asphalt shingles from the resins in the wood decking, increase a roof’s fire rating, and help keep the house dry in the event of rainfall during the job.
The process of installing underlayment involves multiple steps, including:
- Securing drip edge flashing flush along the eaves.
- Ensuring the underlayment is lying flat.
- Overlapping the rows of felt paper by at least 2 inches to provide an effective barrier against water infiltration.
Proper underlayment installation is essential for a watertight and durable roofing system.
Installing Shingles Correctly
Installing shingles correctly, which includes precise nailing and overlapping patterns, guarantees a roof that is watertight and wind-resistant. Here are the steps to install starter shingles:
- Install starter shingles at the edge of the roof deck. They act as an attachment point for the initial course of shingles and provide a layer of protection from water seeping through joints and cut-outs.
- Hang the starter shingles 1/2 inch past the drip edge.
- Ensure a 2 to 3 inch overlap with the starter shingle on the eve.
By following these steps, you can ensure a proper installation of starter shingles for your roof.
As you install the shingles, pay close attention to the following:
- Nail placement: Ensure that the nails penetrate all the way through and do not protrude under the next layer.
- Stagger each row: This helps to create a stronger and more secure roof.
- Use starter shingles at the bottom and sides: This prevents leaks and ensures a secure, watertight seal.
Following these guidelines for roof shingles installation will help maintain the integrity of your roof and protect your home from potential damage.
Proper Ventilation and Insulation
The overall performance and energy efficiency of your roof are significantly impacted by adequate ventilation and insulation. Proper ventilation helps regulate attic temperatures, prevent moisture buildup, and improve energy efficiency. You can use a ventilation calculator, such as the one offered by GAF, to calculate the number of vents needed for your attic, ensuring proper airflow and temperature regulation.
In addition to ventilation, insulation is essential for maintaining comfortable temperatures within your home and minimizing energy costs. Installing insulation in the attic floor, between and over the joists, and around any pipes or ducts will help keep your home warm in the winter and cool in the summer.
Proper ventilation and insulation not only improve the overall performance of your roof but also contribute to a healthier and more comfortable living environment.
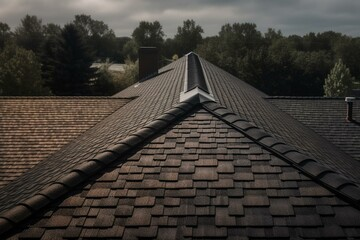
Handling Valleys, Hips, and Ridges
Handling valleys, hips, and ridges correctly during installation guarantees a watertight seal and safeguards against leaks in susceptible areas.
- Ridge cap shingles are specially designed to cover the ridge of the roof where two roof planes meet, creating a tight seal and enabling water and ice to be diverted down either side of the roof.
- Installing ridge cap shingles requires overlapping and careful attention to nail placement to ensure a secure and watertight seal.
- Valley flashing is another vital component for preventing leaks in areas where roof planes meet.
- Installing valley flashing involves cutting and securing the flashing to ensure a proper fit and watertight seal.
By paying close attention to these vulnerable areas during the installation process, you can prevent potential leaks and water damage, ensuring the longevity and durability of your roof.
Finishing Touches: Vents, Pipes, and Skylights
The installation of vents, pipes, and skylights necessitates meticulous attention to flashing and sealing, to avoid leaks and uphold energy efficiency. Vent flashing serves to direct water away from the roof and protect against leaks and water damage. To ensure watertightness around vents, proper flashing and sealant application are necessary.
When installing pipes and skylights, it’s essential to follow the correct installation procedure, which involves cutting additional vent holes in the decking, installing a layer of underlayment, and caulking with roof sealant.
Proper installation of these finishing touches helps maintain the integrity of your roof and protect your home from potential leaks and water damage, while also enhancing the overall appearance and functionality of your home.
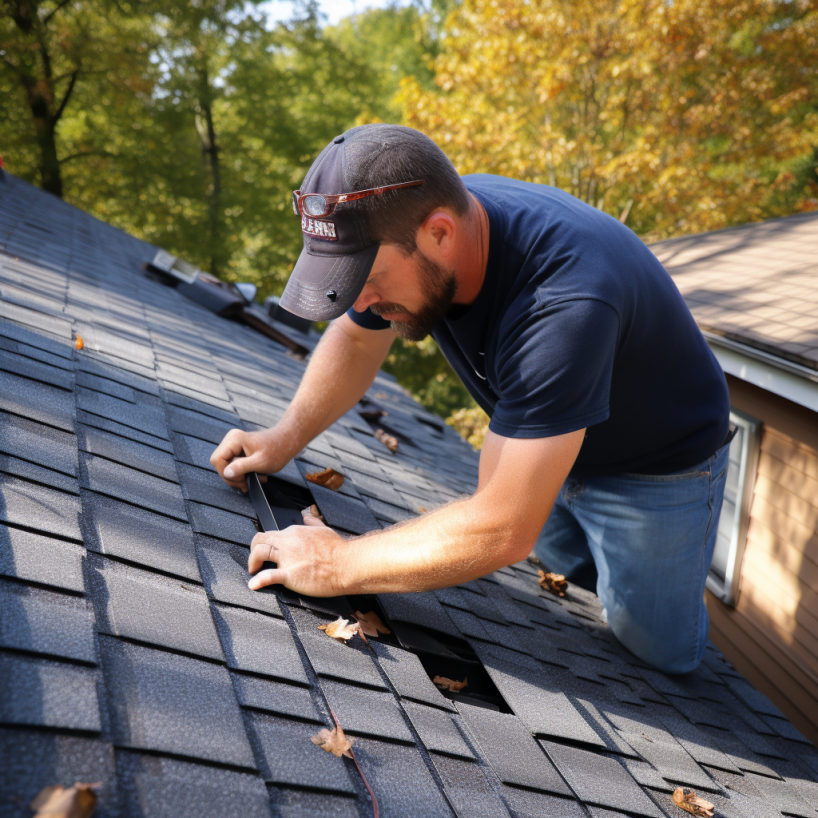
Regular Roof Maintenance
Consistent roof maintenance, an integral part of homeownership, aids in prolonging the life of your roof and preventing expensive damage. By conducting regular inspections, cleaning, and repairs, you can ensure the longevity and durability of your roof and avoid potential issues that could lead to damage or even roof failure.
A well-maintained roof offers several benefits:
- It protects your home from the elements
- It contributes to the overall value of your home
- It enhances curb appeal
- It provides peace of mind knowing your roof is in good condition and ready to withstand any weather conditions.
By investing in regular roof maintenance, you can ensure your home is protected and maintain its value.
A Roof That Stands the Test of Time
Proper roofing techniques are crucial for ensuring the longevity, durability, and safety of your roof. By following the shingle roof installation process outlined in this post, you can ensure a watertight, wind-resistant roof that will protect your home for years to come.
Remember, regular roof maintenance is key to extending the life of your roof and preventing costly damage. By investing in proper installation, ventilation, insulation, and maintenance, you can enjoy a comfortable and secure living environment while also improving the overall value and curb appeal of your home.
Frequently Asked Questions
What is the proper way to install a roof?
To install a roof properly, obtain the necessary permits, tear off the old roof, make any repairs or reinforcements, lay the underlayment, install the drip edge, valley flashing and starter shingles.
What are the 4 things to consider when designing a roof?
When designing a roof, consider its aesthetics, cost, how it will stand up to the weather, and finding the right roofing contractor.
What goes first on a roof?
The first step in roof construction is the installation of roof decking, which serves as the foundation for your roofing components. Roof decking is made up of plywood or planks and is an essential part of a secure roof system.
How can I ensure proper ventilation and insulation in my attic?
Ensure proper ventilation and insulation in your attic by using a ventilation calculator to determine the number of vents needed, and installing insulation in the attic floor, between and over the joists, and around any pipes or ducts.
What is the importance of drip edges and flashing in roofing?
Drip edges and flashing are essential for properly directing water away from the roof to prevent leaks and avoid water damage. Proper installation is key for an effective roofing system.