One of the best ways to temporarily fix roof damage is by tarping the roof. It’s a simple and cost-effective way to protect your home from further damage until you can get it fixed by a professional. When bad weather and other emergencies occur, they can leave your roof in bad shape. The good news is, tarping a roof can:
- Prevent further issues
- Stop roof leaks
- Minimize water damage
If you don’t know how to tarp a roof, this article has you covered. Take a look below to learn the steps you need to take to successfully tarp a roof.
1. How to Tarp a Roof: Examine the Roof Damage 🔎
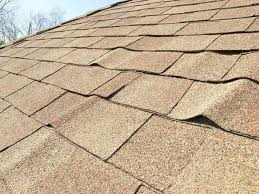
Your first order of business is to assess the damage to your roof. It’s important to know how extensive the damage is and what you’ll need to do to accurately cover it. Pay close attention to any loose shingles, holes, or other damage that needs to be addressed.
Keep safety in mind while doing this step. If there’s storm damage or a hole in your roof, it’s a hazard, so don’t climb up there. Use a ladder and binoculars to inspect it from afar.
As a matter of fact, when it comes to emergency roof repair, calling a roofing contractor is your best option.
2. Gather Your Supplies 🔨
After you check the roof, it’s time to get all the supplies required for tarping. You’ll need:
- A tarp in the size of your roof (or larger)
- Tape measure
- A hammer
- Nails
- Rope or bungee cords
- Ladder
3. Measure the Roof Damage 📏
Once you’ve gathered all of your supplies, the next step is to measure the size of the damage using your tape measure. This will help you to determine how large of a tarp you’ll need to cover everything completely. Depending on how extensive the damage is, you may need more than one tarp.
Also, measuring the damaged area can give you an idea of how much material the job requires. Be sure to have extra on hand. The last thing you’d want is to have to run to your local hardware store in the middle of tarping.
4. Place the Tarp Over the Damage 🏚️
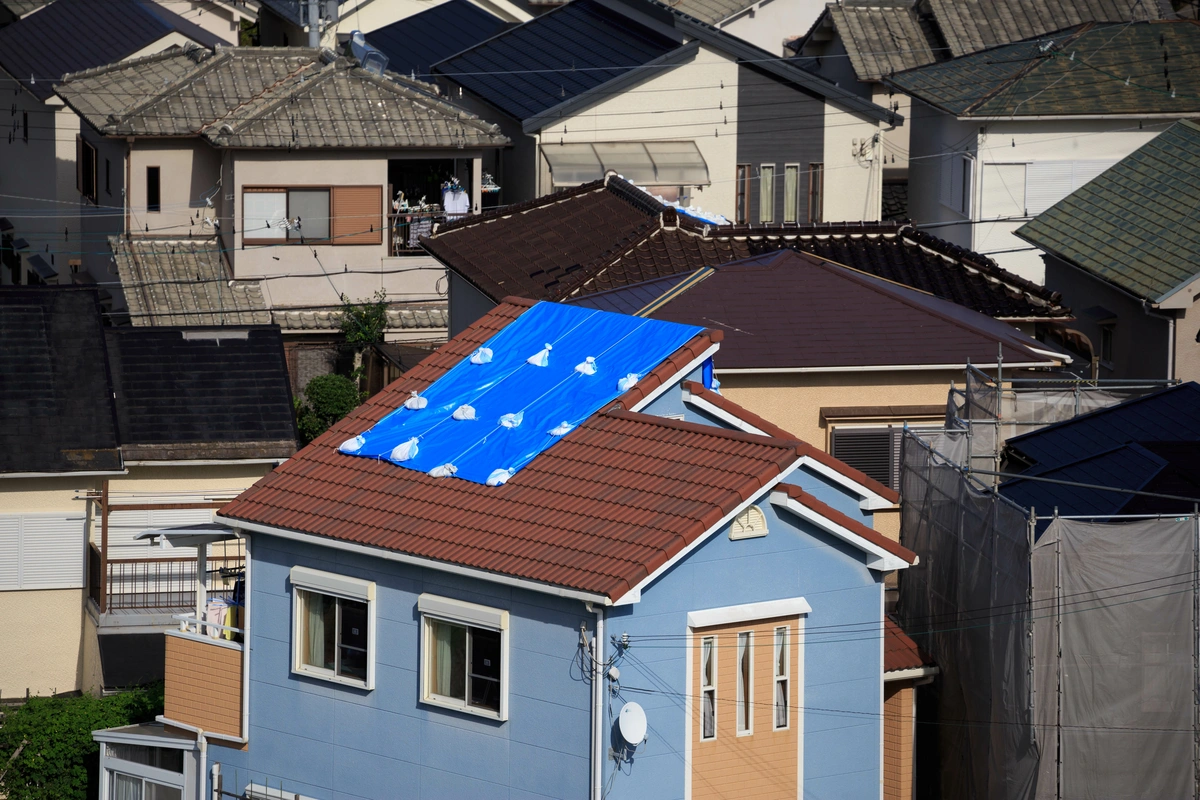
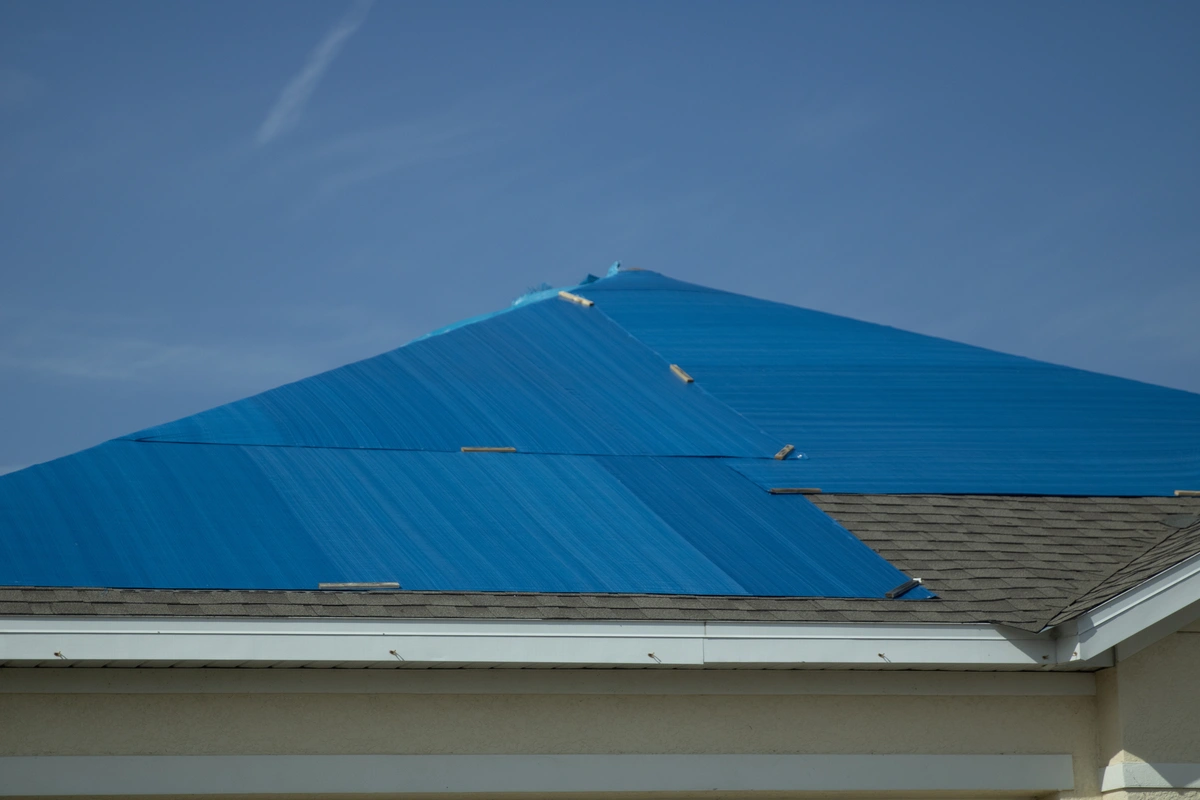
When you’re ready to begin, take your tarps and lay them over the affected area. Make sure that the tarp fully covers the damage and that there are no gaps between the tarp and the roof.
It’s also important to make sure that the tarp extends past the edges of the destructed area. This will help keep wind and rain from getting underneath it.
5. Secure the Tarp 🪢
After you’ve put the tarp down, secure it in place with nails. Put multiple nails along each side of the tarp to make sure it stays put.
Also, it’s a good idea to use rope or bungee cords to tie down the corners and sides. This will ensure that the tarp stays where you want it, preventing it from being blown away in heavy winds.
6. Clear Debris 🧹
Once you’ve tarped the roof, clean up the debris. Take a look around and clear away any nails or other sharp objects that could get left behind. You don’t want anything lingering that could puncture the tarp.
Following these steps will help you successfully tarp a roof, allowing you to make your home safe and secure until it can be properly repaired. However, keep in mind that tarping a roof is a temporary solution to damage.
Therefore, it’s imperative to have a roofing professional perform emergency patching as soon as possible. Tarping can help protect your home in the short term, but long-term repairs are necessary in order to maintain the integrity of the roof.
Reasons to Call a Roofing Contractor
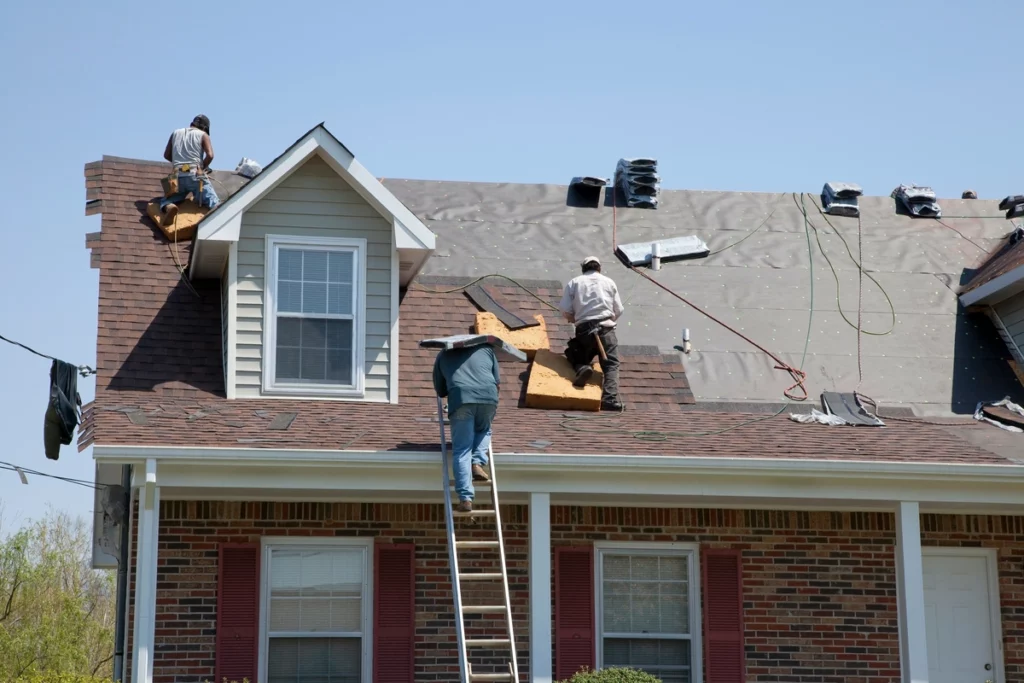
Even if you know how to tarp a roof, it’s better to call a professional for help. Here’s why:
Expertise 🧠
Roofers have the expertise and experience to properly inspect your roof and make proper repairs. Tarping a roof isn’t as simple as it may seem, but a pro roofer can make sure that the tarp is secure, preventing any further damage. If you’ve never tarped a roof before, you may not get it right the first time, and that’s not something you want to risk.
Safety 🦺
Roofers understand the risks that come with tarping a roof, and they know how to safely get the job done. Attempting to tarp a roof without a professional is dangerous, so it’s much better to leave it to someone who knows what they’re doing.
Time ⏰
In an emergency, time is of the essence. A roofing contractor can get the job done quickly and efficiently, saving you time and stress. After roof damage, you may not be in the headspace to properly tarp your roof, and that’s why it’s wise to call an experienced roofer.
Quality Materials 👍
In most cases, a pro roofer will have better materials and supplies than you can get at a local hardware store. They have access to higher-quality tarps and nails, which will give your roof the protection it needs.
Not only that, but they’ll know exactly which materials to bring to get the job done. On the other hand, you may not be aware of all the tools required to tarp your roof correctly.
Complete Repair 🧰
Once you find a roofing company to tarp your roof, they can set up a time to come back to your home and make the necessary repairs. Remember, even if you tarp your roof yourself, you’ll still have to contact a contractor to fix it for you.
Need Roof Repairs? Give Us a Call
When your roof needs fixing, call Tidds Roofing Group. We offer a variety of services—from roof repair to roof replacement. Our company has high ratings from satisfied customers, and we’re here for you anytime you need 24/7 emergency roofing services.
To get a free roof inspection, contact 704-457-6549 or reach out to us online. We look forward to assisting you soon!
