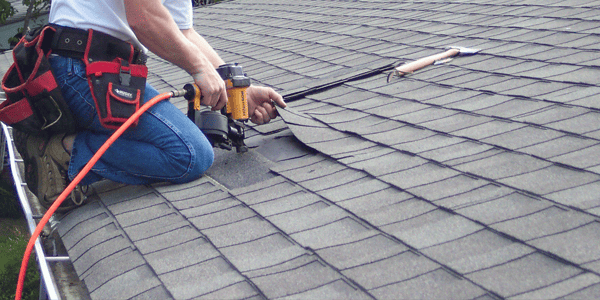
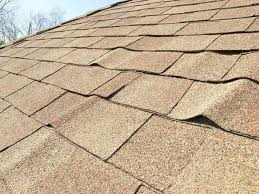
Drip…💧 Drip…💧 Drip…💧
Just when it seems like nothing has needed fixing in your house for a while, you start to hear that frustrating noise that signals a leak. Finding the source of a leak is rarely easy because the water often travels away from its source before showing up in your home.
It’s important to act fast and hire a professional once you have any suspicions about a roof leak because water damage in your home is a complicated and expensive issue to fix.
How to Find a Roof Leak in 7 Simple Steps
Follow these seven steps to learn how to find a roof leak and fix it for good.
Step 1: Look for Tell-Tale Signs of a Leak
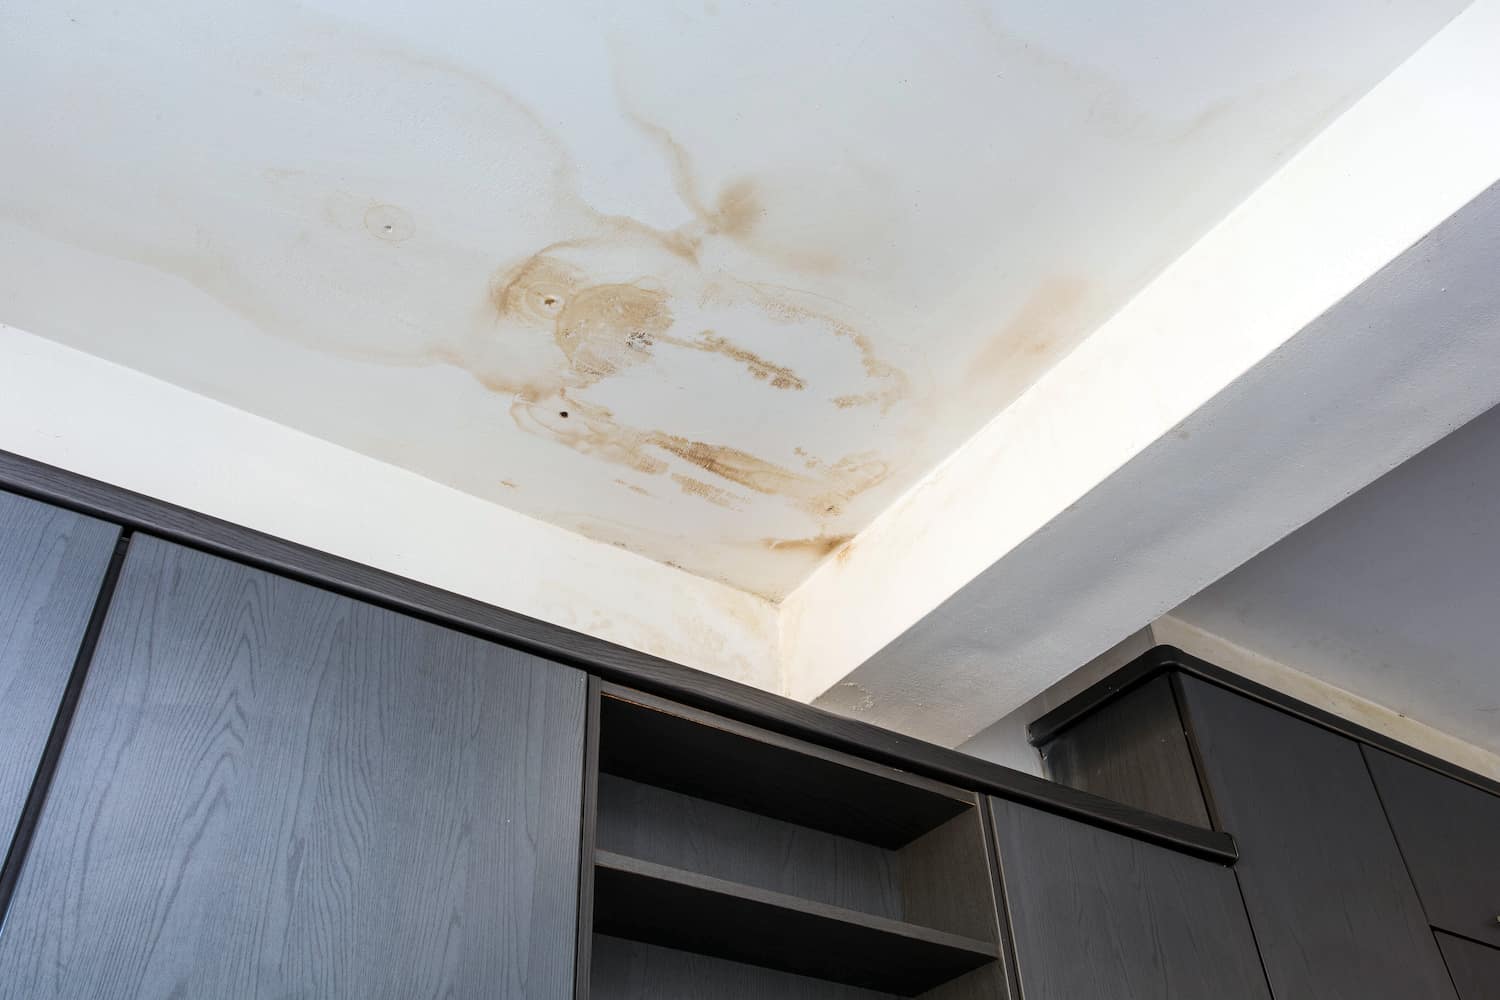
The first step in finding a roof leak is to look for the tell-tale signs. Water stains on your ceiling or walls are the most common sign, but you may also see:
- Bubbling paint
- Peeling wallpaper
- Mold growth
- Bulging sections on interior walls
These all indicate that there is water present that has been there long enough to cause damage. It’s wise to keep your eyes peeled for these signs throughout the year so that water damage doesn’t go unnoticed.
Step 2: Rule Out Other Kinds of Leaks
Once you’ve spotted a possible leak, it’s important to rule out other kinds of leaks that could be causing the problem. A plumbing leak, for example, will often show itself as a drip under a bathroom or kitchen sink. You can check for this by turning off all the water in your home and then checking to see if any fixtures are still dripping.
If none of the fixtures are dripping, you likely have a roof leak. If one or more of the fixtures are dripping, then you’ll need to call a plumber to fix the issue.
Condensation can also develop in your attic due to poor ventilation. This isn’t technically a roof leak but should still be addressed with a professional roofing contractor.
Step 3: Examine Your Attic
Once you’re reasonably sure that you have a roof leak, the next step is to grab a bright flashlight and take a trip up to your attic. The easiest way to find the source of the leak is to look for evidence of water damage.
If you see any staining on the wood or signs of mold growth, that’s a good indicator that water has been present for some time. You should also look for any dripping or pooled water. These will be more difficult to spot but can often be found near where the stain is located on the ceiling. Another potential sign is light peeking through the attic ceiling.
Once you’ve found the source of the leak, mark it with a piece of chalk so that you can easily find it when you go back outside.
Step 4: Inspect Your Roof
Now it’s time to take a look at your roof from the outside. The best way to do this is to climb up onto a ladder and take a close look at the area around the leak. Always work with a buddy for extra ladder safety.
Start by looking for any loose, damaged, or missing shingles. These are often the culprit when it comes to roof leaks. Also, keep your eye out for exposed nails.
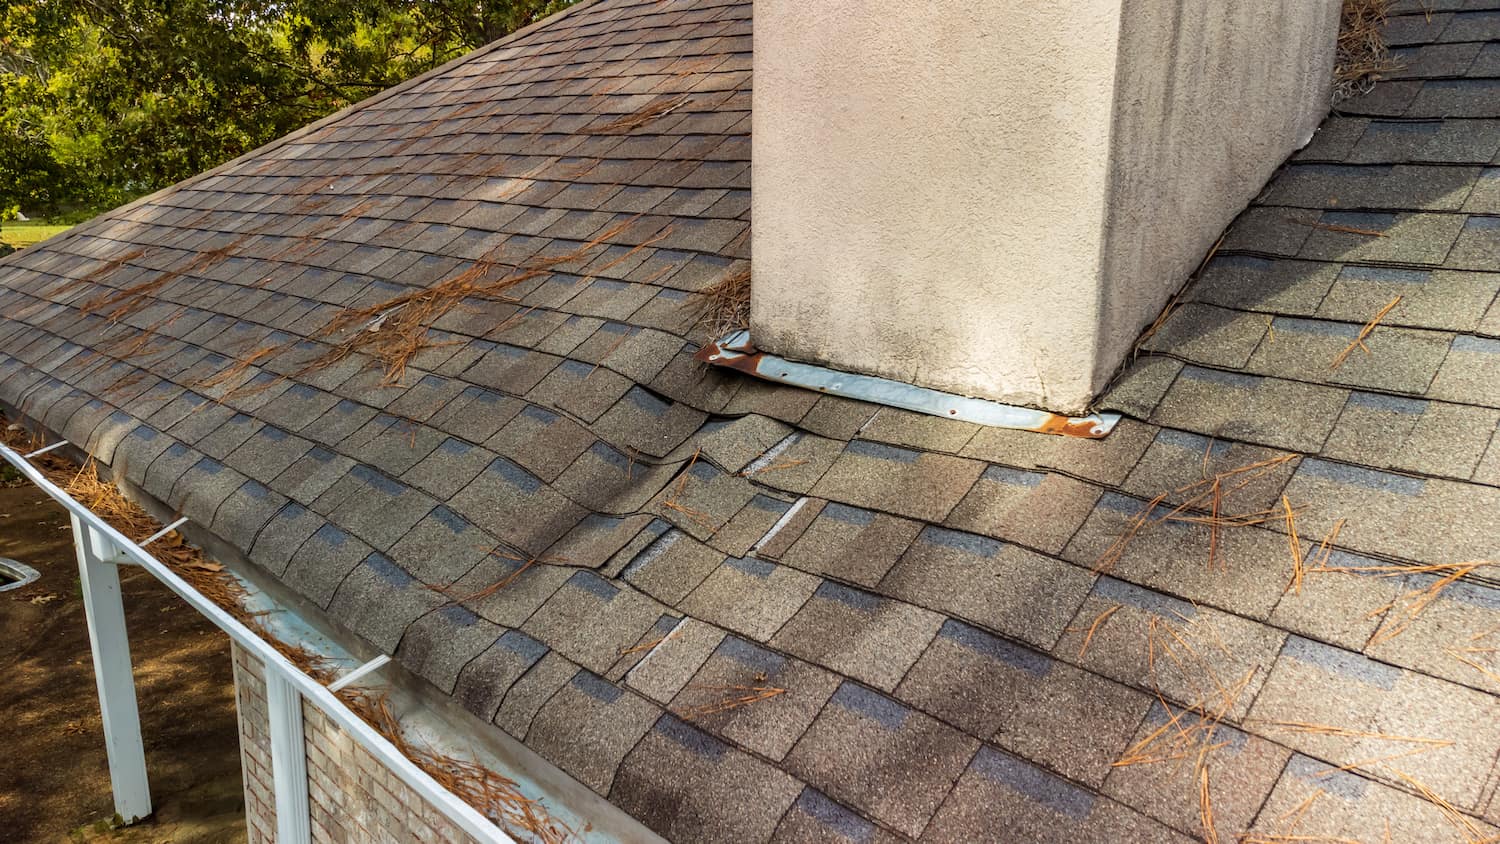
You should also check the flashing around your:
- Chimney
- Skylights
- Valleys
- Roof vents
Roof flashing is the metal material that seals these openings and prevents water from seeping in. If it’s not properly installed or has become damaged, it can be a major source of leaks.
Step 5: Use a Garden Hose on Your Roof
If you can’t clearly see any damage that could be causing the leak on your roof— or if you want to confirm that a damaged shingle is, in fact, the culprit— you can create your own rain to test it out.
Have a friend stand inside your attic while you spray a hose on your roof.
Go slowly and remain in one section of the roof for at least a few minutes. Your friend should yell out when they start to see water leaking through. This will help you focus your attention on one area of your roof. You can look for similar issues like damaged shingles or flashing in this smaller area.
Step 6: Make a Temporary Patch
If you do find damage on your roof that’s causing a leak, you can make a temporary patch until you can have the roof professionally repaired (if you feel comfortable). This will help prevent any further water damage to your home.
- To make a temporary patch, start by using a putty knife or trowel to apply roofing cement around the perimeter of the hole.
- Then, press a piece of flashing into the cement.
- For extra reinforcement, hammer in some galvanized roofing nails around the edge of the flashing.
You can also use this same method to patch cracks in your flashing. Just be sure to smooth out the cement so that water can’t pool in the crack and cause more damage.
Step 7: Call a Professional for a Permanent Fix
Now that you’ve found the source of the leak and made a temporary patch, it’s time to call in a professional roofing contractor to make a permanent repair.
They will be able to assess the damage and make any necessary repairs or replacements that keep your home protected for many years.
It’s important to have this done as soon as possible so that further damage doesn’t occur. Be sure to check online reviews and schedule a free inspection to vet the contractor beforehand.
Call Tidds to Fix a Leaky Roof— Fast!
Take these steps, and you’ll be well on your way to finding—and fixing—that pesky roof leak! At the end of the day, the most important step is calling a reputable roofing company. Whether or not you find the leak yourself, a professional will be able to narrow it down and make the necessary repairs to keep the leak at bay.
Tidds Roofing is the preferred (and most recommended!) roofing company in the Lake Norman area. We also perform 24/7 emergency patching for major leaks.
Contact us today for a free estimate!
